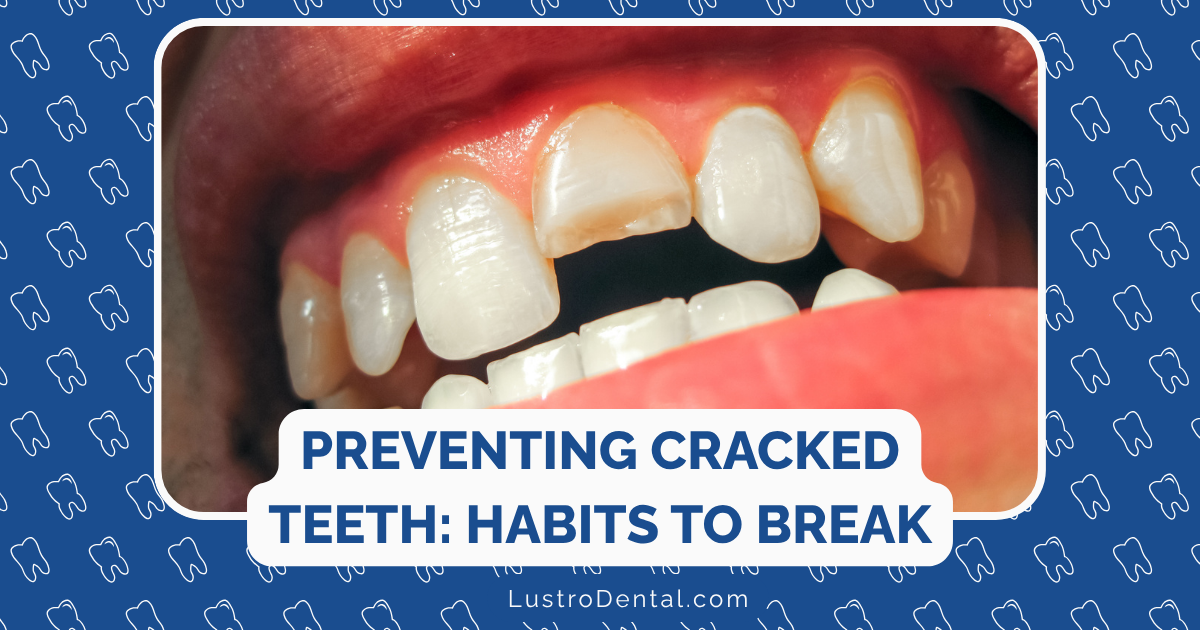
The Internal Bleaching Process: Procedure, Timeline, and Results
If you’ve been told that a discolored tooth can be brightened from the inside out, you might be wondering exactly what to expect from the internal bleaching process. As someone who’s guided many patients through this procedure, I’ve found that understanding the process, timeline, and potential results helps ease anxiety and set realistic expectations.
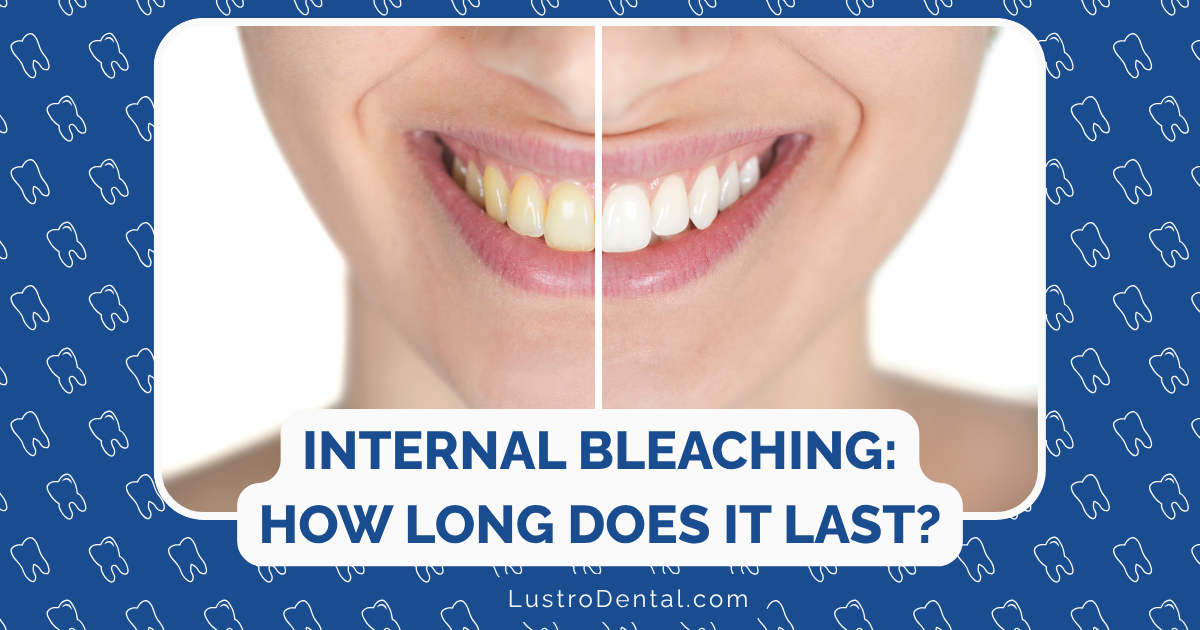
Internal bleaching (also called “walking bleach” or “non-vital bleaching”) is a specialized dental procedure designed to whiten teeth that have darkened after root canal treatment or trauma. Unlike external whitening that works on the outer surface of teeth, internal bleaching targets discoloration from within.
Let’s walk through the entire process from consultation to final results, so you’ll know exactly what to expect if you’re considering this treatment.
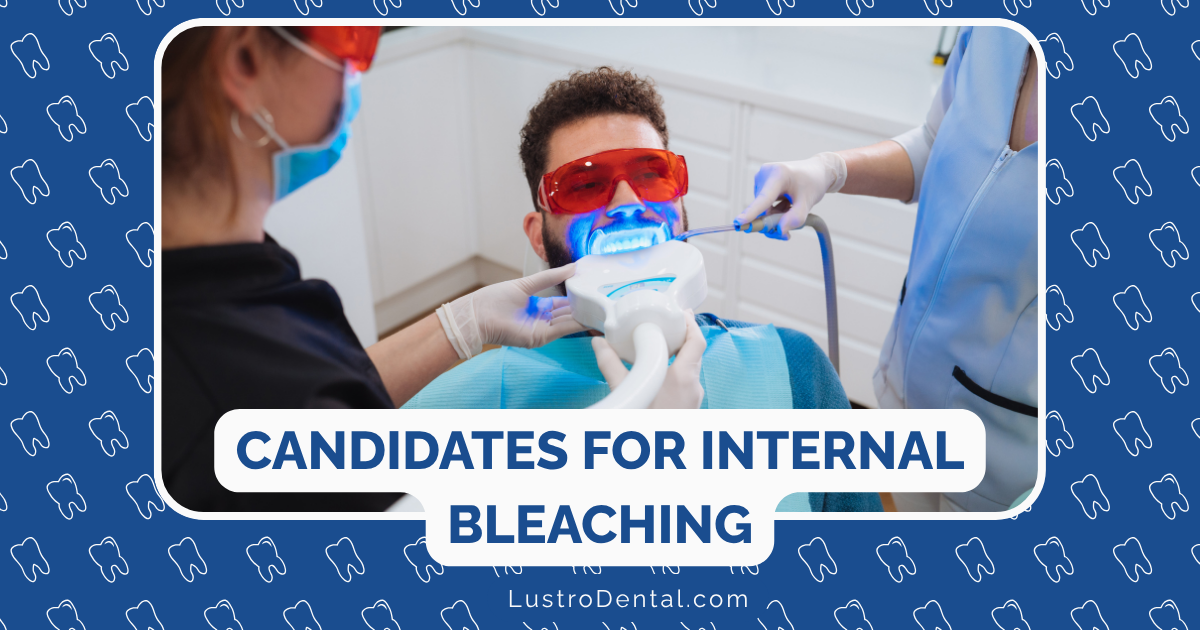
The Consultation: Determining If You’re a Candidate
Before any treatment begins, your dentist or endodontist will conduct a thorough evaluation to determine if internal bleaching is right for you.
What Happens During the Consultation:
- Dental examination: Your dentist will examine the discolored tooth and surrounding tissues.
- X-rays: These help evaluate the root canal filling and overall tooth condition.
- Shade assessment: Your current tooth shade will be documented, often using a dental shade guide.
- Discussion of expectations: Your dentist will explain what results you can realistically expect.
- Treatment planning: If you’re a good candidate, your dentist will outline the treatment plan, including the estimated number of sessions needed.
Dr. Sarah Johnson, endodontist at University Dental Institute, explains: “The consultation is crucial for setting realistic expectations. Some discolorations respond better than others to internal bleaching, and patients need to understand both the possibilities and limitations of the procedure.”
Timeline for This Stage:
- Duration: Typically 30-45 minutes
- When to schedule: 1-2 weeks before beginning treatment
The Preparation Phase: Setting the Stage
If your tooth already has a root canal filling, you can proceed directly to the bleaching phase. If not, a root canal procedure must be completed first, as internal bleaching can only be performed on non-vital teeth.
What Happens During Preparation:
- Local anesthesia: Though often unnecessary since the tooth has no nerve, some patients receive local anesthesia for comfort.
- Access creation: A small opening is created in the back of the tooth (for front teeth) or on the chewing surface (for back teeth).
- Cleaning the pulp chamber: Any old filling material or debris is removed from the pulp chamber.
- Protective barrier placement: This critical step involves placing a protective material (usually glass ionomer cement) over the root filling at the level of the gumline.
“The protective barrier is one of the most important steps,” notes Dr. Michael Chen of Advanced Dental Specialists. “It prevents the bleaching agent from leaking into the root canal and surrounding tissues, which could potentially cause complications like external root resorption.”
Timeline for This Stage:
- Duration: 30-60 minutes
- Healing time: None required; you can proceed immediately to the bleaching phase
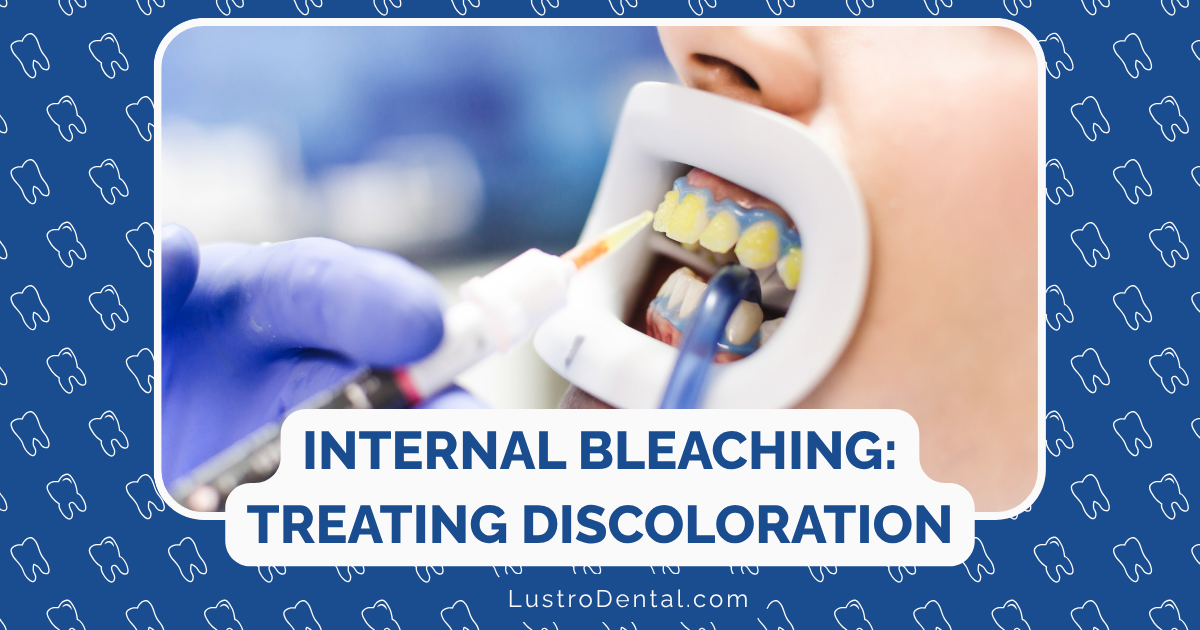
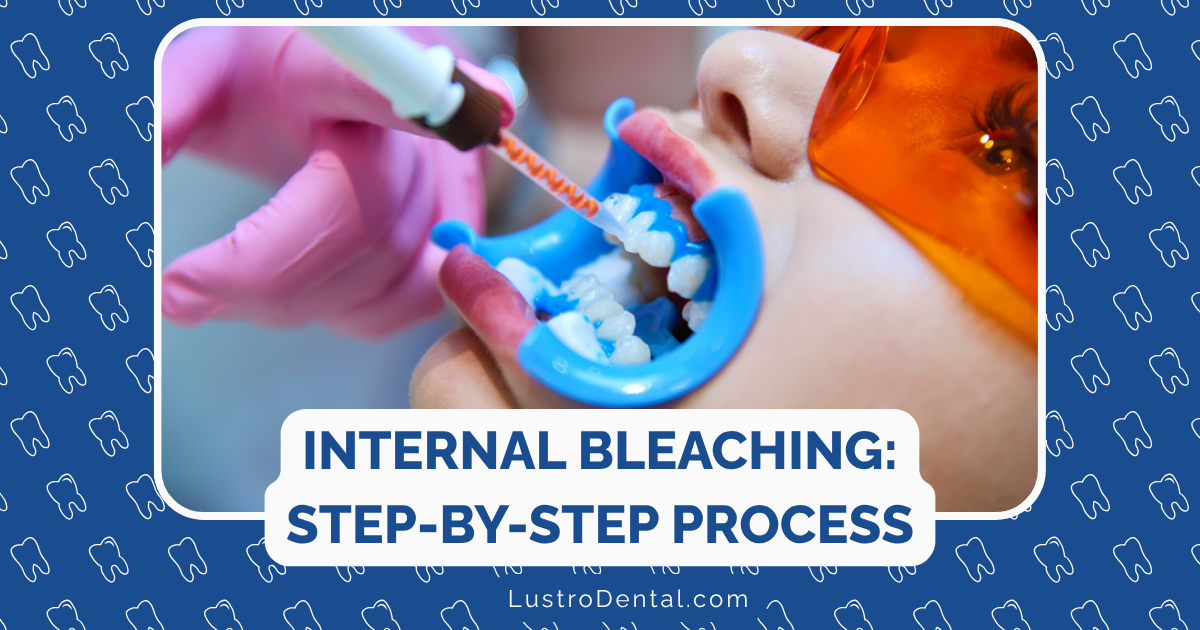
The Bleaching Phase: The Walking Bleach Technique
The most common approach to internal bleaching is the “walking bleach technique,” where the bleaching agent is placed inside the tooth and sealed, allowing you to “walk around” while it works.
What Happens During the Bleaching Phase:
- Bleaching agent application: Your dentist will place one of these bleaching materials inside the pulp chamber:
- Sodium perborate mixed with water
- Sodium perborate mixed with hydrogen peroxide
- 35% hydrogen peroxide gel
- 35% carbamide peroxide gel
- Temporary sealing: The access opening is sealed with a temporary filling material to keep the bleaching agent contained.
- Instructions: You’ll receive specific care instructions, though generally no special precautions are needed.
Dr. Lisa Wong, cosmetic dentist at City Dental Center, advises: “During this time, the bleaching agent is working to break down the molecules causing the discoloration. It’s a chemical process that happens gradually, so patience is key.”
Timeline for This Stage:
- Procedure duration: 15-30 minutes
- Bleaching action time: 3-7 days (varies depending on discoloration severity)
The Evaluation and Possible Repetition Phase
After the initial bleaching period, you’ll return to the dental office for evaluation.
What Happens During Evaluation:
- Temporary filling removal: The dentist removes the temporary filling and bleaching agent.
- Shade assessment: The new shade is compared to the initial shade and surrounding teeth.
- Decision point: Your dentist will determine if the desired result has been achieved or if additional bleaching is needed.
- Repeat if necessary: If further whitening is desired, fresh bleaching agent is placed and the process is repeated.
Timeline for This Stage:
- Appointment duration: 15-30 minutes
- Number of sessions: Most cases require 1-3 applications, spaced 3-7 days apart
- Total treatment time: Typically 1-3 weeks, depending on discoloration severity and response to treatment
Research published in the Journal of Endodontics indicates that approximately 60% of cases achieve satisfactory results after just one application, while 30% require two applications, and 10% need three or more.
The Final Restoration Phase
Once the desired shade is achieved, your dentist will complete the procedure with a permanent restoration.
What Happens During Final Restoration:
- Complete removal of bleaching agent: The tooth is thoroughly cleaned to remove all bleaching material.
- Waiting period: Some dentists recommend waiting 1-2 weeks before placing the final restoration to allow the tooth to stabilize its color and for any oxygen residue from the bleaching to dissipate.
- Permanent filling placement: A tooth-colored composite filling is placed to seal the access opening.
- Final polishing: The restoration is shaped and polished to match the contour of your natural tooth.
Timeline for This Stage:
- Waiting period: 1-2 weeks (varies by case)
- Final restoration appointment: 30-45 minutes
What Results Can You Expect?
Understanding the potential outcomes of internal bleaching helps set realistic expectations.
Success Rates:
Research and clinical experience show:
- Initial success rate: 85-90% of cases achieve good to excellent results
- Long-term success rate: 79% maintain satisfactory results at 5 years
- Patient satisfaction: 98% of patients report satisfaction with the initial results
Factors Affecting Results:
- Cause of discoloration: Trauma-induced discoloration typically responds better than discoloration from certain filling materials.
- Age of discoloration: Newer discoloration generally responds better than long-standing stains.
- Severity of discoloration: Mild to moderate discoloration has a higher success rate than severe discoloration.
- Original tooth color: Some natural tooth colors respond better than others.
Longevity of Results:
The whitening effect from internal bleaching can last:
- Short-term: More than 90% maintain results at 1-2 years
- Medium-term: 75-80% maintain acceptable results at 3-5 years
- Long-term: 35-50% maintain results beyond 5 years
Dr. Johnson notes, “Some patients experience color regression over time, particularly if the original discoloration was severe. The good news is that the procedure can often be repeated safely if discoloration returns.”
Post-Treatment Care: Maintaining Your Results
To extend the longevity of your internal bleaching results:
- Practice excellent oral hygiene: Brush twice daily and floss regularly
- Attend regular dental check-ups: Your dentist can monitor the treated tooth
- Limit staining substances: Reduce consumption of coffee, tea, red wine, and tobacco
- Consider touch-up treatments: If slight darkening occurs, discuss options with your dentist
Potential Side Effects and Complications
While internal bleaching is generally safe when performed correctly, it’s important to be aware of potential side effects:
- Temporary sensitivity: Some patients experience mild sensitivity for a few days
- Cervical resorption: A rare complication (approximately 3.9% of cases) where the tooth structure begins to break down at the gumline
- Uneven color matching: Sometimes the treated tooth may not perfectly match surrounding teeth
- Color regression: The tooth may gradually darken again over time
Is Internal Bleaching Right for You?
Internal bleaching offers a conservative approach to improving the appearance of a discolored tooth that has had root canal treatment. The procedure is:
- Less invasive than crowns or veneers
- More affordable than many cosmetic alternatives
- Effective for specific types of intrinsic discoloration
- Relatively quick, with visible results in 1-3 weeks
However, it’s not suitable for all situations. The best way to determine if internal bleaching is right for you is to consult with a dentist or endodontist experienced in the procedure.
Final Thoughts
The internal bleaching process represents a specialized solution for a specific dental problem—discolored non-vital teeth. Understanding the process, timeline, and expected results can help you approach the procedure with confidence and realistic expectations.
If you’re bothered by a discolored tooth that’s had root canal treatment, consider discussing internal bleaching with your dental provider. For many patients, this conservative treatment offers a path to a brighter, more confident smile without the need for more invasive procedures.
Have you experienced internal bleaching? Share your experience or questions in the comments below.