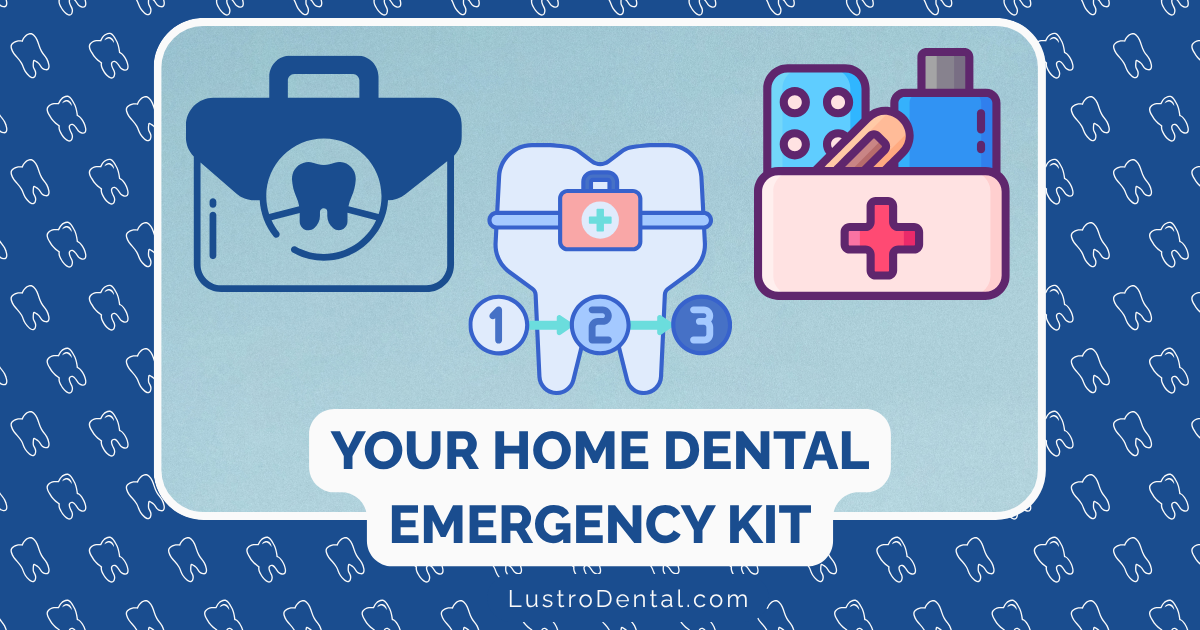
The Essential Dental Emergency Kit: Items Every Home Should Have
It always seems to happen at the most inconvenient time, doesn’t it? The throbbing toothache that wakes you at 2 AM on a holiday weekend. The crown that pops off during a business trip. The braces wire that breaks loose while you’re camping in the mountains.
As someone who’s spent years helping patients through dental emergencies, I’ve heard countless stories of panic and pain that could have been significantly eased with a few basic supplies at home. Dental emergencies don’t always align with office hours, and having the right tools on hand can mean the difference between manageable discomfort and a weekend of misery.
Let’s build a comprehensive dental emergency kit together – one that can help you handle common dental issues until you can see a professional.
Why Every Home Needs a Dental Emergency Kit
Before diving into the specific items, let’s understand why having a dedicated dental emergency kit matters:
- Immediate relief: Many dental emergencies involve pain that can be temporarily managed with the right supplies.
- Prevention of further damage: Quick intervention can sometimes prevent a minor issue from becoming more serious.
- Peace of mind: Knowing you’re prepared reduces anxiety when problems arise.
- Cost savings: Addressing issues promptly can sometimes prevent the need for more extensive (and expensive) treatment later.
According to the American Dental Association, approximately 1 in 6 Americans experiences a dental emergency each year. Being prepared isn’t just convenient—it’s practical healthcare planning.
Essential Components of Your Dental Emergency Kit
Let’s organize our kit into categories based on the types of emergencies you might face:
1. Pain Management Essentials
Over-the-counter pain relievers
- Ibuprofen (Advil, Motrin): Reduces inflammation and pain
- Acetaminophen (Tylenol): Alternative pain relief option
- Note: Always follow dosage instructions and check for contraindications with other medications
Oral anesthetic gel
- Products containing benzocaine (such as Orajel or Anbesol)
- Apply directly to the affected area for temporary numbing
- Particularly helpful for gum pain or irritation
Clove oil
- Natural analgesic with eugenol that temporarily numbs pain
- Apply sparingly with a cotton swab to the affected area
- Available at most health food stores and some pharmacies
Dr. Sarah Johnson of Comprehensive Dental Care notes: “Clove oil has been used for centuries as a dental pain reliever. Its active component, eugenol, has natural anesthetic properties. Just be careful not to apply too much, as it can irritate gum tissue if overused.”
2. Temporary Repair Materials
Temporary filling material
- Commercial products like Dentemp or Temparin
- Used to temporarily replace lost fillings or cover small cavities
- Available at most pharmacies without prescription
Dental wax
- Essential for covering sharp edges on braces or broken teeth
- Prevents irritation to cheeks, lips, and tongue
- Particularly important for households with orthodontic appliances
Temporary crown cement
- Products like Fixodent or Dentemp’s crown repair
- Helps reattach loose crowns or bridges until you can see your dentist
- Follow package instructions carefully for best results
3. Tools for Examination and Minor Issues
Dental mirror
- Small mirror on a handle for examining hard-to-see areas
- Helps locate the source of pain or discomfort
- Available in most pharmacy first aid sections
Good quality tweezers
- Used for removing food particles or foreign objects
- Choose ones with fine tips for precision
- Sterilize before and after each use
Small flashlight or penlight
- Provides illumination for better visibility
- LED options provide bright, clear light
- Ideally waterproof for durability
Dental floss and interdental brushes
- Removes trapped food that can cause pain and infection
- Can sometimes dislodge objects caught between teeth
- Include unwaxed floss for versatility
4. Trauma and Bleeding Management
Clean cotton balls and gauze pads
- Controls bleeding from oral injuries
- Applies medication to specific areas
- Sterile options preferred for safety
Salt packets
- For making saltwater rinses (1/2 teaspoon salt in 8 oz warm water)
- Reduces inflammation and helps clean wounds
- Natural antibacterial properties
Small ice pack or instant cold compress
- Reduces swelling from injuries or infections
- Numbs pain temporarily
- Look for reusable or instant-activation options
Clean cloth handkerchief
- Multipurpose item for compression or cleaning
- Can serve as a tooth preservation wrap if needed
- Should be clean and unused
5. Tooth Preservation Supplies
Small container with lid
- For storing a knocked-out tooth
- Should be clean and sealable
- Label it as part of your dental kit
Save-A-Tooth solution or milk boxes
- Preserves knocked-out teeth until professional treatment
- Milk (shelf-stable boxes) works if Save-A-Tooth isn’t available
- Critical for increasing chances of successful replantation
According to research published in the Journal of Endodontics, a knocked-out permanent tooth has the best chance of being saved if it’s replanted within 30-60 minutes, and proper storage during this time is crucial.
6. Protective Items
Disposable nitrile gloves
- Prevents contamination when examining or treating the mouth
- Choose non-latex options to avoid allergic reactions
- Keep several pairs in various sizes
Small antimicrobial mouth rinse
- Helps clean the affected area before treatment
- Reduces bacteria that could cause infection
- Travel-sized bottles work well for kits
Hydrogen peroxide 3%
- Dilute 1:1 with water for a cleansing mouth rinse
- Helps with minor gum irritations
- Can help clean wounds in the mouth
7. Information Resources
Emergency dental contact information
- Your dentist’s regular and emergency numbers
- Location and contact for nearest emergency dental clinic
- Dental insurance information and ID card copy
Basic instruction guide
- Simple steps for common dental emergencies
- Can be printed from reputable dental websites
- Include specific instructions for family members with special dental needs
Dr. Michael Roberts from Emergency Dental Care recommends: “Create a one-page quick reference guide with step-by-step instructions for different scenarios. In an emergency, stress can make it difficult to remember proper procedures, and having written guidelines can be invaluable.”
How to Assemble and Maintain Your Kit
Now that we know what to include, let’s talk about putting it all together:
Container Options
Choose a container that is:
- Waterproof
- Easy to open
- Clearly labeled “Dental Emergency Kit”
- Large enough to hold all supplies without cramming
- Preferably with compartments or small internal containers
A fishing tackle box, small toolbox, or dedicated first aid container works well.
Organization Tips
- Group similar items together in labeled ziplock bags
- Include a printed inventory list taped to the inside lid
- Store liquids upright and in sealed bags to prevent leaks
- Keep the most commonly needed items most accessible
Maintenance Schedule
- Check expiration dates every 6 months (when you get your dental checkup)
- Replace used or expired items promptly
- Update contact information if your dentist changes
- Review the contents after each use to ensure completeness
Addressing Common Dental Emergencies
Let’s review how to use your emergency kit for some of the most common dental emergencies:
Severe Toothache
- Rinse mouth gently with warm saltwater
- Use dental floss to remove any trapped food
- Apply clove oil sparingly to the affected area
- Take appropriate over-the-counter pain medication
- Use cold compress outside the cheek for swelling
- Contact your dentist as soon as possible
Lost Filling or Crown
- Rinse the area gently with warm water
- For a lost filling, apply temporary filling material according to package instructions
- For a loose crown, clean the inside, apply temporary dental cement, and reposition it
- Avoid chewing on that side of your mouth
- See your dentist within 1-2 days
Broken or Chipped Tooth
- Rinse mouth with warm saltwater
- Apply gauze if there’s bleeding
- Use dental wax to cover any sharp edges
- Apply cold compress to reduce swelling
- Take over-the-counter pain medication if needed
- Save any broken pieces in milk or saliva
- See your dentist as soon as possible
Knocked-Out Tooth
- Handle the tooth by the crown (not the root)
- Rinse gently with water if dirty (don’t scrub)
- Try to reinsert the tooth in its socket if possible
- If not possible, store in Save-A-Tooth solution, milk, or saliva
- Apply gauze to the socket if bleeding
- Seek emergency dental care immediately (within 30-60 minutes for best results)
Broken Braces or Wires
- Cover sharp wire ends with dental wax
- If a wire is poking, try to gently push it flat with a pencil eraser
- Never cut dental wires
- Take over-the-counter pain medication if needed
- Contact your orthodontist for an appointment
When to Seek Professional Help Immediately
While your emergency kit can provide temporary relief, certain situations require immediate professional attention:
- Severe pain that isn’t relieved by over-the-counter medication
- Significant swelling of the face, gums, or lymph nodes
- Bleeding that doesn’t stop after 10 minutes of pressure
- Trauma to the jaw that affects your ability to open or close your mouth
- Signs of infection such as fever, pus, or a foul taste/smell
- A knocked-out permanent tooth (time is critical for saving the tooth)
Dr. Lisa Wong of Advanced Emergency Dental Care emphasizes: “Your home dental kit is meant to provide first aid, not replace professional care. When in doubt about the severity of a dental emergency, it’s always better to err on the side of caution and contact a dental professional.”
Cost Considerations
Creating a comprehensive dental emergency kit doesn’t have to be expensive. Here’s a breakdown of approximate costs:
- Basic pain management supplies: $15-25
- Temporary repair materials: $10-20
- Examination tools: $10-15
- Trauma management supplies: $5-10
- Tooth preservation items: $15-25
- Protective items: $5-10
- Container: $10-20
Total investment: $70-125
Many items may already be in your home first aid kit or medicine cabinet. Consider this an investment in peace of mind and potential savings on emergency dental visits that might be preventable with prompt home care.
Special Considerations for Families
If you have children or family members with special dental needs, customize your kit accordingly:
For Families with Young Children
- Include child-appropriate pain medication dosages
- Add a small reward toy for brave behavior during emergencies
- Consider including a children’s book about dental visits
- Have pediatric dentist contact information readily available
For Orthodontic Patients
- Extra dental wax
- Orthodontic-specific pain relievers
- Small orthodontic repair kit (ask your orthodontist)
- Orthodontist’s emergency contact information
For Seniors or Those with Dentures
- Denture repair kit
- Denture adhesive
- Soft foods list for emergencies
- Contact information for providers who specialize in geriatric dentistry
Final Thoughts: Prevention Is Still the Best Medicine
While being prepared for dental emergencies is essential, prevention remains your best strategy. Regular dental checkups, good oral hygiene practices, wearing protective gear during sports, and avoiding using teeth as tools can significantly reduce your risk of dental emergencies.
Your dental emergency kit is like an insurance policy – you hope you never need it, but you’ll be incredibly grateful to have it when you do.
Have you ever experienced a dental emergency at home? What items would you add to this list based on your experience? Share your thoughts in the comments below – your insight might help someone else prepare more effectively!