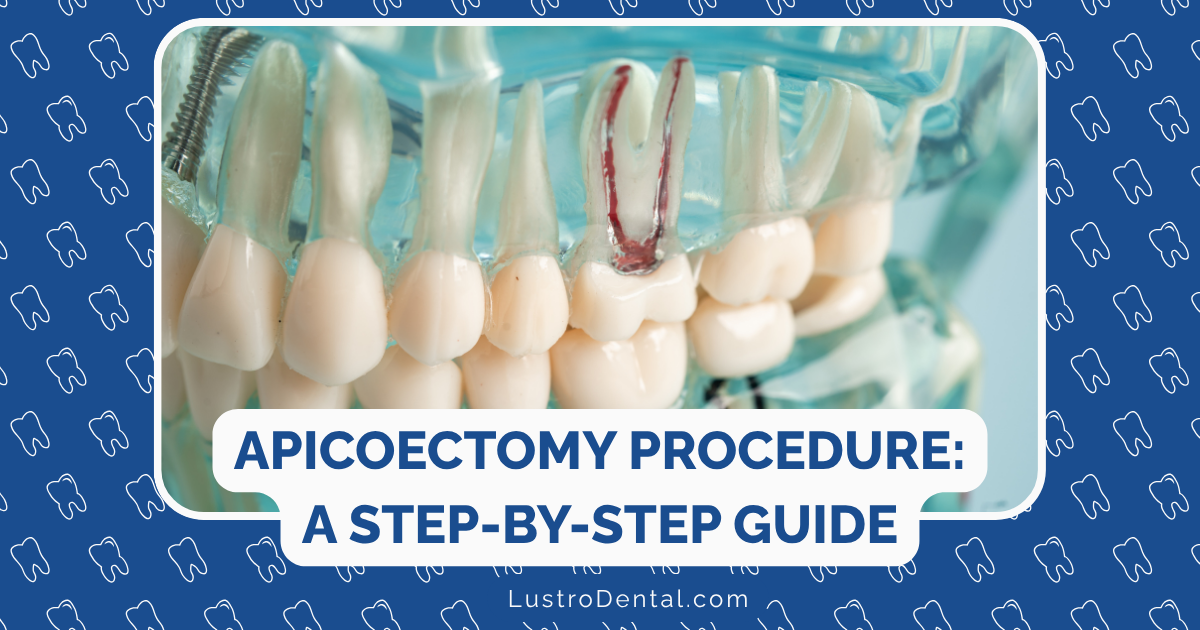
The Apicoectomy Procedure: A Step-by-Step Visual Guide
When your endodontist mentions the word “apicoectomy,” it might sound intimidating. Trust me, I’ve seen that look of anxiety on countless patients’ faces. But knowledge is power, and understanding exactly what happens during this procedure can transform fear into confidence.
As someone who’s guided many patients through this journey, I’ve created this comprehensive visual guide to demystify the apicoectomy procedure—a specialized form of endodontic surgery that can save your natural tooth when conventional root canal treatment isn’t enough.
What Is an Apicoectomy?
An apicoectomy (also called root-end surgery) is a microsurgical procedure that removes the very tip of a tooth’s root along with any surrounding infected tissue. Think of it as a targeted approach that addresses infection at its source when a traditional root canal treatment has failed or isn’t possible.
According to the American Association of Endodontists, apicoectomies have a success rate of approximately 97%, making them one of the most reliable procedures for saving teeth that might otherwise require extraction.
When Is an Apicoectomy Necessary?
Before diving into the procedure itself, let’s understand when you might need one:
- Persistent infection: If infection remains or returns after a root canal
- Complex root anatomy: When your tooth has curved, blocked, or unusually narrow root canals
- Failed root canal treatment: If previous treatment didn’t resolve the problem
- Calcified canals: When mineral deposits make conventional retreatment impossible
Dr. Sarah Johnson, endodontist at University Dental Research Center, notes that “approximately 15% of teeth that have had root canal therapy may eventually require an apicoectomy to address persistent infection that couldn’t be resolved through conventional methods.”
The Apicoectomy Procedure: Step by Step
Now, let’s walk through exactly what happens during this endodontic surgery:
Step 1: Preparation and Anesthesia
- Your endodontist will administer local anesthesia to numb the area completely
- Sedation options may be available if you experience dental anxiety
- Vital signs may be monitored throughout the procedure
- The surgical area is prepared with antiseptic solution
Pro tip: Communicate any anxiety with your endodontist beforehand. Many offices offer various comfort measures like noise-canceling headphones or weighted blankets to help you relax.
Step 2: Accessing the Root Tip
- A small incision is made in the gum tissue above the affected tooth
- The gum tissue is gently lifted to create a “flap”
- Specialized instruments expose the underlying bone
- A small window is created in the bone to reveal the root tip
This part of the procedure typically takes 10-15 minutes. The precision of this step is crucial, which is why endodontists use specialized magnification tools.
Step 3: Removing Infected Tissue and Root Tip
- The infected tissue surrounding the root is identified and removed
- 3-4 millimeters of the root tip (apex) is removed with ultrasonic instruments
- The area is thoroughly cleaned to eliminate all infection
- A small camera or microscope helps ensure nothing is missed
According to a 2023 study in the Journal of Endodontics, using ultrasonic instruments for this step has increased success rates by nearly 10% compared to traditional surgical methods.
Step 4: Root-End Filling Placement
- The end of the root canal is cleaned and prepared
- A biocompatible material (usually mineral trioxide aggregate or MTA) is placed
- This filling creates a tight seal to prevent reinfection
- The filling is checked for proper placement and density
This filling is typically 3mm deep and serves as a barrier against bacteria. Modern filling materials like MTA have revolutionized this procedure, as they’re specifically designed to promote healing and prevent reinfection.
Step 5: Closing the Surgical Site
- The gum tissue is carefully repositioned
- Small sutures (stitches) are placed to hold the tissue in position
- The area is cleaned and final post-operative instructions are provided
- The entire procedure typically takes between 30-90 minutes, depending on the tooth location and complexity
Most endodontists use dissolvable sutures that will disappear on their own within 7-10 days, though some may use sutures that need removal at a follow-up appointment.
What to Expect During Recovery
Recovery from an apicoectomy is generally straightforward, but knowing what to expect helps ensure optimal healing:
Immediate Post-Procedure (First 24 Hours)
- Numbness: The local anesthesia will wear off within a few hours
- Bleeding: Minor bleeding is normal; follow your endodontist’s instructions for managing it
- Pain management: Take prescribed or recommended pain medication before the anesthesia wears off
- Ice application: Apply ice packs (20 minutes on, 20 minutes off) to reduce swelling
- Rest: Plan to rest for the remainder of the day
First Week After Surgery
- Swelling: Peaks around day 2-3 and then gradually subsides
- Discomfort: Should progressively improve each day
- Diet: Stick to soft foods and avoid chewing on the surgical side
- Oral hygiene: Brush gently, avoiding the surgical site
- Medications: Complete any prescribed antibiotics
Dr. Michael Chen of Advanced Endodontic Care recommends, “Using a saltwater rinse (1/2 teaspoon salt in 8 oz warm water) starting 24 hours after surgery can promote healing and keep the area clean.”
Long-Term Healing
While you’ll likely feel back to normal within 7-14 days, complete healing of the bone around the root tip takes longer:
- Stitches removal: If non-dissolving sutures were used, they’re typically removed 2-7 days after surgery
- Return to normal activities: Most patients return to work within 1-2 days
- Complete healing: Bone regeneration at the surgical site takes 3-6 months
- Follow-up appointments: Your endodontist will schedule these to monitor healing
A study published in the International Endodontic Journal found that 85% of patients report minimal disruption to their daily activities following an apicoectomy.
Potential Complications and Success Rates
While apicoectomies are highly successful, it’s important to understand potential complications:
- Temporary numbness: Occasionally, nearby nerves may be bruised during surgery, causing temporary numbness
- Infection: Rare but possible; signs include increasing pain, swelling, or fever
- Incomplete healing: In some cases, the bone may not heal completely around the root tip
- Need for extraction: In approximately 3% of cases, the tooth may still need extraction if healing doesn’t occur
The good news? According to research from the Journal of Endodontics, modern apicoectomy techniques have success rates between 94-97% when performed by a specialist.
Cost and Insurance Considerations
The cost of an apicoectomy typically ranges from $900-$1,300 without insurance. Most dental insurance plans provide some coverage for this procedure, as it’s considered a medically necessary treatment rather than cosmetic.
Always check with your insurance provider beforehand and ask your endodontist’s office about payment plans or options if cost is a concern.
Is an Apicoectomy Right for You?
If you’re facing persistent tooth pain despite having had a root canal, an apicoectomy might be your path to relief while saving your natural tooth. The alternative is typically extraction followed by an implant or bridge, which is generally more costly and invasive.
Dr. Lisa Wong, Director of Endodontic Research Institute, emphasizes, “Preserving your natural tooth whenever possible offers significant advantages for long-term oral health and function.”
Final Thoughts
An apicoectomy is a precise, effective procedure that has saved countless teeth that would otherwise be lost. By understanding each step of the process, you can approach this treatment with confidence rather than anxiety.
Remember, the temporary discomfort of the procedure is far outweighed by the long-term benefit of keeping your natural tooth. And with today’s advanced techniques and materials, the process is more comfortable and successful than ever before.
Have you had an apicoectomy or are you considering one? Share your experience or questions in the comments below.