Dental First Aid Kit: Essential Items to Have at Home and When Traveling
When Sarah woke up with excruciating tooth pain during a weekend camping trip in a remote area, she was hours away from the nearest dentist. “I was in agony, and we had nothing with us that could help,” she recalled. “We ended up cutting our trip short and driving three hours to find an emergency dentist. It completely ruined our vacation.”
Sarah’s experience is all too common. Dental emergencies rarely happen at convenient times or locations. Whether you’re at home on a holiday weekend or traveling far from dental care, having a well-stocked dental first aid kit can make the difference between managing a situation comfortably and enduring hours of unnecessary pain.
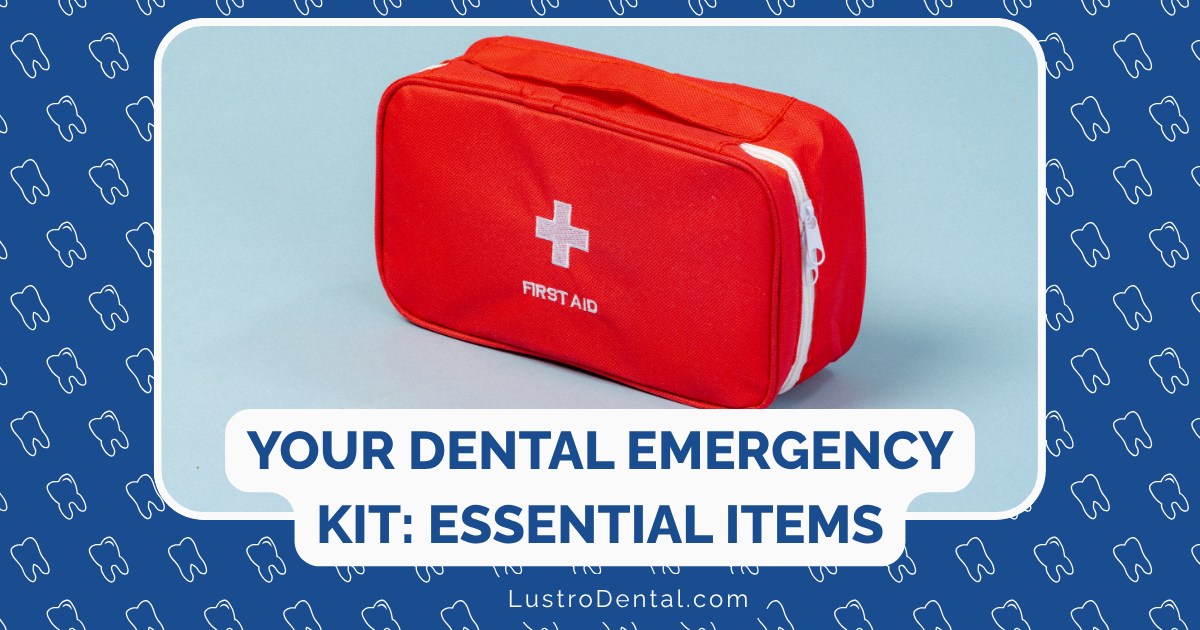
In this comprehensive guide, we’ll cover the essential items every dental emergency kit should contain, how to assemble kits for both home and travel use, and when to seek professional care despite your best preparation.
Why You Need a Dental First Aid Kit
Dental emergencies can happen to anyone, anytime, and they often occur when professional dental care isn’t readily available:
- Evenings and weekends when dental offices are closed
- During travel, especially to remote or international destinations
- Holidays when emergency dental services are limited
- During natural disasters when normal services are disrupted
According to the American Dental Association, a significant percentage of emergency dental visits could be temporarily managed with proper first aid while awaiting professional care. A well-stocked dental emergency kit allows you to:
- Manage pain effectively
- Address temporary cosmetic concerns
- Prevent further damage
- Preserve displaced teeth or dental work
- Reduce anxiety by being prepared
Dr. Robert Wilson, a dentist specializing in emergency care, notes: “The goal of a dental first aid kit isn’t to replace professional treatment, but to manage the situation until you can see a dentist. Having the right supplies can transform a dental emergency from a vacation-ruining disaster to a manageable inconvenience.”
Essential Items for Your Home Dental Emergency Kit
Your home dental kit should be more comprehensive than a travel version, as you have fewer space constraints. Here’s what to include:
Pain Management
- Over-the-counter pain relievers: Ibuprofen (Advil, Motrin) is particularly effective for dental pain due to its anti-inflammatory properties. Acetaminophen (Tylenol) is a good alternative for those who cannot take NSAIDs.
- Oral anesthetic gel: Products like Orajel or Anbesol containing benzocaine provide temporary numbing of painful areas.
- Clove oil: A natural alternative that contains eugenol, a compound with anesthetic and anti-inflammatory properties. Apply with a cotton swab to the affected area.
- Cold pack: To reduce swelling and numb pain (keep in your freezer, not the kit itself).
Temporary Repair Materials
- Temporary filling material: Products like DenTemp or Temparin help cover exposed areas in cracked or broken teeth or replace lost fillings.
- Dental wax: Essential for covering broken braces brackets or wires that are causing irritation.
- Dental cement: For temporarily reattaching loose crowns or bridges. Look for products specifically designed for this purpose, like Fixodent Denture Adhesive.
Tools and Supplies
- Dental mirror: To help you see inside your mouth and identify the problem area.
- Tweezers: For removing foreign objects or placing small items like cotton pellets.
- Small flashlight: Provides better visibility when examining oral issues.
- Cotton rolls and pellets: For applying medication or drying areas before applying temporary materials.
- Dental floss and interdental brushes: To remove food particles that may be causing pain or pressure.
- Gauze pads: To control bleeding or apply pressure.
- Disposable gloves: For hygiene when examining or treating someone else.
- Salt packets: For making a warm saltwater rinse (1/2 teaspoon salt in 8 oz warm water).
Tooth Preservation Supplies
- Save-A-Tooth kit or small container with lid: For storing a knocked-out tooth. If using a container, you’ll need to fill it with milk, saline solution, or saliva.
- Saline solution: Can be used to rinse debris from injuries or as a storage medium for knocked-out teeth if specialized solutions aren’t available.
Information Resources
- Emergency dental contact information: Your dentist’s emergency number, nearest emergency dental clinic, and dental insurance details.
- Basic dental first aid instructions: Printed guide for handling common emergencies.
- List of current medications and allergies: Important information for emergency care providers.
Dr. Sarah Chen of the American Association of Endodontists recommends: “Store your dental emergency kit in a waterproof container clearly labeled ‘Dental Emergency Kit.’ Keep it in an easily accessible location that everyone in your household knows about, but out of reach of young children.”
Travel Dental Emergency Kit: Portable Protection
When traveling, space and weight constraints require a more compact approach. Here’s what to prioritize for your travel dental kit:
Must-Have Items
- Pain relievers: Travel packets of ibuprofen and acetaminophen.
- Oral anesthetic gel: A small tube of benzocaine gel (like Orajel) for temporary pain relief.
- Temporary filling material: Single-use packages of temporary filling material like DenTemp.
- Dental wax: Essential for orthodontic emergencies and can also cover sharp edges of broken teeth.
- Dental floss and interdental picks: Multifunctional for both routine hygiene and emergencies.
- Gauze pads: Compact and essential for controlling bleeding.
- Tweezers: Opt for TSA-compliant versions if flying.
- Contact information: Your dentist’s number, travel insurance details, and information about local dental resources at your destination.
Additional Considerations for International Travel
- Translation cards: Basic dental emergency phrases in the local language.
- International dental emergency hotline: Services like International Association for Medical Assistance to Travelers (IAMAT) can help locate English-speaking dentists worldwide.
- Dental insurance information: Including international coverage details.
Dr. Michael Johnson, who specializes in travel dentistry, advises: “Before traveling internationally, research dental care options at your destination. Some countries have excellent dental care, while others may have limited resources or different standards. This knowledge helps you make better decisions in an emergency.”
Pre-Assembled vs. DIY Dental Kits
You have two options when creating a dental emergency kit: purchasing a pre-assembled kit or building your own.
Pre-Assembled Kits: Convenience with Limitations
Several companies offer ready-made dental emergency kits:
- Adventure Medical Kits Dental Medic ($15-20)
- Pros: Compact, includes essential temporary treatments
- Cons: Limited quantities, may need supplementation
- DenTek Dental Emergency Kit ($10-15)
- Pros: Widely available in pharmacies, good basic supplies
- Cons: Focuses mainly on temporary repairs, limited pain management
- Traveler’s Supply Emergency Dental Kit ($15)
- Pros: Travel-focused, lightweight
- Cons: Basic supplies only
DIY Approach: Customized and Comprehensive
Building your own kit allows you to:
- Customize for specific needs (e.g., orthodontic concerns, sensitivity issues)
- Choose preferred brands
- Include larger quantities
- Update components as needed
Most items can be purchased at pharmacies, while some specialized products may need to be ordered online or obtained from your dentist.
How to Use Your Dental First Aid Kit: Common Emergencies
Understanding how to use the items in your kit is just as important as having them. Here’s guidance for common dental emergencies:
Toothache
- Clean the area: Gently floss around the tooth to remove any trapped food particles.
- Rinse: Use warm saltwater to rinse your mouth.
- Apply anesthetic gel: Place a small amount on the affected area.
- Take pain relievers: Follow package directions for appropriate dosing.
- Use clove oil (optional): Apply a tiny amount to the painful area using a cotton swab.
- Seek professional care: Toothaches often indicate infection or decay that requires professional treatment.
Lost Filling or Crown
- Clean the area: Gently rinse your mouth with warm water.
- For a lost filling: Apply temporary filling material according to package instructions.
- For a lost crown:
- Clean the crown and tooth surface
- Apply dental cement inside the crown
- Reposition the crown carefully
- Bite down gently on gauze to secure it
- Avoid chewing: Don’t chew on that side of your mouth until you see a dentist.
- Manage sensitivity: Apply anesthetic gel if the exposed area is sensitive.
Broken or Chipped Tooth
- Rinse: Gently rinse with warm water to clean the area.
- Control bleeding: Apply gauze with gentle pressure if bleeding is present.
- Reduce swelling: Apply a cold compress to the outside of the cheek.
- Cover sharp edges: Use dental wax to cover any sharp edges that might cut your tongue or cheeks.
- Temporary protection: For larger breaks with exposed dentin (yellow layer) or pulp (pink/red area), apply temporary filling material.
- Save fragments: Keep any broken pieces in milk or saline solution to bring to your dentist.
Knocked-Out Tooth
This is the most time-sensitive dental emergency. Quick action can save the tooth.
- Find the tooth: Handle it only by the crown (white part), not the root.
- Rinse gently: If dirty, rinse briefly with milk or saline (NOT water). Don’t scrub or remove any attached tissue.
- Reimplantation: If possible, gently insert the tooth back into its socket and hold it in place by biting on gauze.
- If reimplantation isn’t possible: Store the tooth in a Save-A-Tooth kit, milk, or saliva (by holding it in your cheek if safe to do so).
- Seek immediate dental care: Ideally within 30 minutes, but teeth can sometimes be saved even after longer periods with proper storage.
Orthodontic Emergencies
- Protruding wire: Cover with dental wax to prevent irritation.
- Loose bracket: Apply wax to stabilize until you can see your orthodontist.
- Mouth irritation: Apply anesthetic gel to irritated areas.
Maintaining Your Dental First Aid Kit
A dental emergency kit is only effective if it’s properly maintained:
- Check expiration dates: Review all medications and materials every six months.
- Replace used items: Restock anything you use promptly.
- Update contact information: Keep emergency contact details current.
- Review instructions: Periodically refresh your knowledge of emergency procedures.
Dr. Lisa Rodriguez, an emergency dental specialist, suggests: “Set a calendar reminder to check your kit twice a year when you change your clocks for daylight saving time. This simple habit ensures your kit is always ready when needed.”
When to Seek Professional Care
While a dental first aid kit can provide temporary relief, it’s important to know when professional care is necessary:
Seek Immediate Emergency Care If:
- Severe pain that isn’t relieved by over-the-counter medications
- Significant facial swelling or swelling that affects breathing
- Uncontrolled bleeding
- Trauma involving potential jaw fracture
- Knocked-out permanent teeth (seek care while following first aid protocols)
- Signs of infection (fever, pus, severe swelling)
Schedule Urgent Dental Care (Within 24-48 Hours) For:
- Lost fillings or crowns
- Broken or chipped teeth without severe pain
- Dislodged orthodontic appliances
- Mild to moderate pain that is controlled with medication
Sarah’s Story Revisited: Preparation Prevents Problems
After her painful camping experience, Sarah created comprehensive dental kits for both home and travel. Six months later, during another trip, she developed sensitivity from a cracked filling.
“This time, I was prepared,” she explained. “I cleaned the area, applied some temporary filling material from my kit, and took ibuprofen. It kept me comfortable for the rest of our vacation, and I saw my dentist when we got home. Instead of ruining another trip, it was just a minor inconvenience.”
Conclusion: Peace of Mind in a Kit
A well-stocked dental first aid kit is an essential component of both home emergency preparation and travel planning. While it can’t replace professional dental care, it can provide:
- Temporary relief from pain and discomfort
- Solutions for cosmetic concerns
- Preservation of displaced teeth or dental work
- Peace of mind knowing you’re prepared for dental emergencies
By investing a small amount of time and money in creating comprehensive dental emergency kits for both home and travel, you can potentially save yourself hours of pain, expensive emergency treatments, and disrupted plans.
As Dr. Wilson summarizes: “In my 20 years of emergency dental practice, I’ve seen countless situations where patients who had basic dental first aid supplies were able to manage their condition comfortably until they could receive proper treatment. Being prepared doesn’t prevent dental emergencies, but it certainly makes them much easier to handle.”
Have you ever experienced a dental emergency without proper supplies? Or has your dental kit saved the day? Share your experiences in the comments below.


