Knocked-Out Tooth Emergency: Step-by-Step Survival Guide
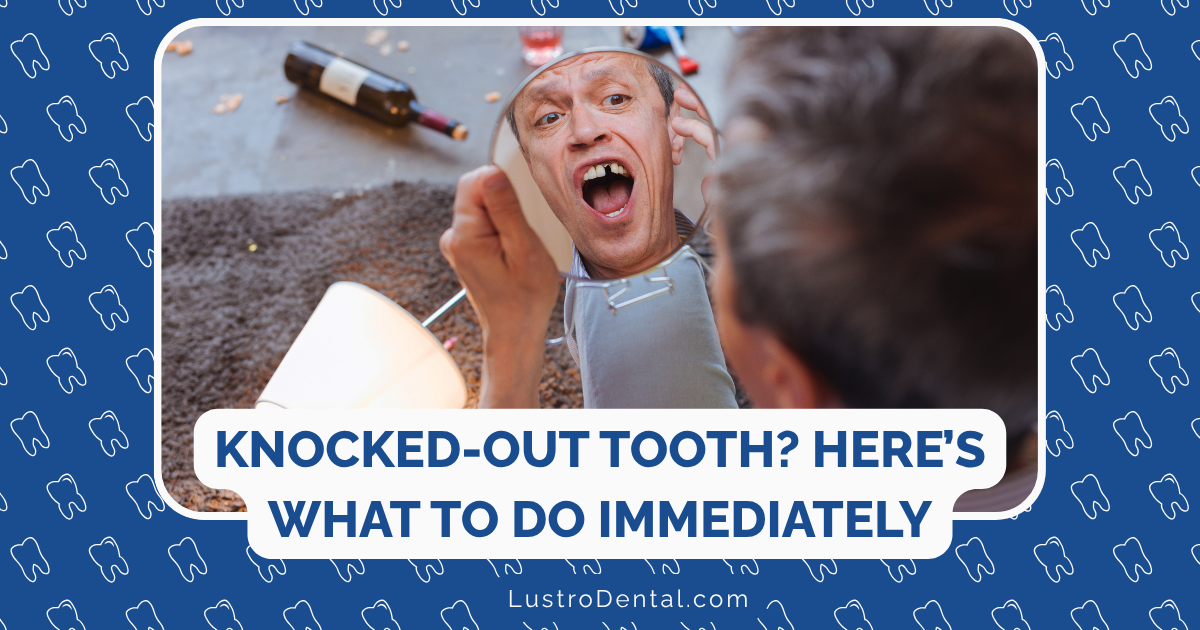
When 12-year-old Jake took a soccer ball to the face during weekend practice, the panic that followed wasn’t just about the blood. “His front tooth was completely knocked out,” his mother Sarah recalled. “It was lying on the field, and I had no idea what to do. Should I pick it up? Could it be saved? We were terrified we’d make the wrong decision in those critical moments.”
A knocked-out tooth (or “avulsed tooth” in dental terminology) is one of the most time-sensitive dental emergencies. The actions you take in the first 30-60 minutes can mean the difference between saving or losing the tooth permanently. This step-by-step survival guide will walk you through exactly what to do if you or someone you’re with experiences this dental emergency.
The Golden Hour: Why Time Is Critical
Before diving into the steps, it’s essential to understand why quick action is crucial. According to the American Association of Endodontists, a knocked-out permanent tooth has the highest chance of being saved if it’s reimplanted within 30 minutes. The success rate drops significantly with each passing hour.
Dr. Sarah Chen, a board-certified endodontist, explains: “On the surface of tooth roots are specialized cells called periodontal ligament cells. These cells are vital for reattachment, but they begin to die quickly once the tooth is out of the mouth. The faster we can get the tooth back into its socket with viable cells, the better the prognosis.”
Step 1: Stay Calm and Act Quickly (0-1 minutes)
When a tooth is knocked out, the situation can feel overwhelming. Take a deep breath and focus:
- Control the situation: If it’s a sports injury or accident, ensure there are no other serious injuries that need immediate attention
- Locate the tooth: Look carefully for the knocked-out tooth, as it may have fallen some distance away
- Minimize blood: Have the injured person bite gently on a clean cloth or gauze to control bleeding
- Check the tooth type: Is it a baby tooth or permanent tooth? (Baby teeth are typically not reimplanted, but you should still see a dentist)
IMPORTANT: If you’re unsure whether it’s a baby tooth or permanent tooth, keep the tooth safe using the methods described below and consult a dentist immediately. Reimplanting a baby tooth can damage the developing permanent tooth underneath.
Step 2: Handle the Tooth Correctly (1-2 minutes)
How you handle the knocked-out tooth is critical to its survival:
- Pick it up by the crown only: The crown is the white part of the tooth that’s normally visible in the mouth. Never touch the root (the pointed end), as this can damage those crucial periodontal ligament cells
- Do NOT scrub the tooth: Even if it’s dirty, scrubbing will destroy vital cells needed for reattachment
- Do NOT use soap, alcohol, or other chemicals: These will kill the cells necessary for successful reimplantation
If the tooth is dirty, gently rinse it with milk or saline solution. If neither is available, have the person gently rinse it in their own saliva by carefully spitting into a container. As a last resort, use cold, clean water for a very brief, gentle rinse (under 10 seconds).
Step 3: Attempt Reimplantation If Possible (2-5 minutes)
For permanent teeth, immediate reimplantation offers the best chance of saving the tooth:
- Verify orientation: Look at the tooth to determine which way it goes back in (the flatter side is typically toward the front)
- Gently reinsert: Carefully push the tooth back into its socket with light, steady pressure
- Bite down: Have the person bite on a clean piece of gauze or cloth to hold the tooth in position
- Proceed to emergency care: Even with successful reimplantation, emergency dental care is essential
CAUTION: Do not force the tooth back into the socket. If there’s resistance or if the person is in severe pain during the attempt, move to Step 4 instead. Also, do not attempt reimplantation if:
- The person is unconscious or severely injured
- There’s a risk they might swallow the tooth
- It’s a baby tooth
- The tooth is severely broken
- You’re unsure about proper placement
Step 4: Store the Tooth Properly (If Reimplantation Isn’t Possible) (2-5 minutes)
If you can’t reimplant the tooth immediately, proper storage is crucial:
Best Storage Options (in order of preference):
- Tooth preservation solution: Products like Save-A-Tooth or EMT Tooth Saver (available in some first aid kits and pharmacies)
- Cold milk: Regular cow’s milk is an excellent option and readily available
- Saliva: The injured person can hold the tooth between the cheek and gum (if they’re conscious and there’s no risk of swallowing) or spit into a container to store the tooth
- Saline solution: Contact lens solution or a simple salt water mixture can work
- Water with a pinch of salt: Only as a last resort, as plain water can damage the root cells
NEVER store the tooth in any of these:
- Dry tissue or cloth
- Regular water
- Alcohol or mouthwash
- Disinfectants
According to research published in the Journal of Endodontics, milk is nearly as effective as specialized tooth preservation solutions because its composition and pH are compatible with cell survival.
Step 5: Control Bleeding and Pain (5-10 minutes)
While preparing to seek emergency care:
- Apply pressure: Have the person bite gently on a clean gauze pad or cloth placed over the socket
- Use cold compresses: Apply to the outside of the mouth, cheek, or lip near the injured area to reduce swelling and numb pain
- Take appropriate pain relievers: Acetaminophen (Tylenol) is generally recommended. Avoid aspirin as it can increase bleeding
- Stay upright: Have the person sit upright with their head tilted slightly forward to prevent swallowing blood
Step 6: Seek Emergency Dental Care Immediately (10-60 minutes)
Contact an emergency dentist right away. If it’s after hours, many dental practices have emergency numbers. If you can’t reach a dentist, go to an emergency room.
When you call:
- Explain that a tooth has been knocked out completely
- Mention how long it’s been since the injury
- Describe what you’ve done so far (reimplantation attempt, storage method)
- Ask for immediate care instructions while en route
Dr. Robert Wilson of the American Dental Association advises: “Always tell the front desk or emergency room staff immediately that you have a knocked-out tooth. This is one of the few true dental emergencies where minutes matter, and you should be seen as quickly as possible.”
What to Expect at the Dental Office
Understanding what happens next can help reduce anxiety:
- Examination: The dentist will examine the socket and the tooth
- Reimplantation: If you haven’t already reimplanted the tooth, the dentist will do so
- Stabilization: The tooth will be splinted (attached to adjacent teeth with a wire or fiber material) to keep it stable while healing
- X-rays: To check positioning and look for other injuries
- Root canal therapy: May be needed, either immediately or in the following days, depending on the situation
- Medication: Antibiotics and pain management as needed
- Follow-up plan: Instructions for care and future appointments
Special Considerations for Different Situations
For Children and Baby Teeth
- Baby teeth are generally not reimplanted as this could damage the developing permanent tooth
- Still seek immediate dental care, as the dentist needs to examine for other damage
- The dentist may recommend a space maintainer to prevent adjacent teeth from shifting
For Sports Injuries
- Bring any tooth fragments to the dentist, even small pieces
- If a mouthguard was worn, bring it to the appointment
- Consider a custom mouthguard to prevent future injuries
For Multiple Knocked-Out Teeth
- Prioritize following the same steps for all teeth
- Store teeth separately if possible, but if necessary, they can be stored together
- Note which tooth came from which position if you can
Long-Term Outlook and Follow-Up Care
After emergency treatment, ongoing care is essential:
- Follow all aftercare instructions: This typically includes soft diet, careful oral hygiene, and medication
- Attend all follow-up appointments: Even if the tooth seems stable
- Watch for complications: Contact your dentist immediately if you notice increasing pain, swelling, tooth discoloration, or unusual mobility
- Be patient: The healing process can take weeks or months, and the long-term prognosis may not be clear immediately
According to the International Association of Dental Traumatology, with proper emergency care and follow-up treatment, many reimplanted teeth can remain functional for years or even a lifetime.
Prevention: Reducing the Risk of Dental Trauma
While accidents happen, some preventive measures can reduce the risk of knocked-out teeth:
- Wear mouthguards: During all contact sports and recreational activities with collision risk
- Use seat belts and appropriate car seats: Many dental injuries occur during vehicle accidents
- Make your home safer: Address tripping hazards and unsafe areas where falls might occur
- Get regular dental checkups: Teeth with untreated decay or other issues are weaker and more susceptible to trauma
Creating a Dental Emergency Kit
Being prepared can make all the difference. Consider creating a dental emergency kit containing:
- Tooth preservation solution: Products like Save-A-Tooth
- Gauze pads: For controlling bleeding
- Small container with lid: For tooth storage if needed
- Saline solution: For gentle rinsing
- Pain reliever: Acetaminophen (Tylenol)
- Cold pack: Instant cold packs that don’t require refrigeration
- Your dentist’s emergency contact information
- Instructions: A printed copy of basic emergency steps
Jake’s Story: A Successful Outcome
Returning to Jake’s soccer injury, his mother Sarah recalled: “Fortunately, another parent was a nurse who knew what to do. She found the tooth, had Jake rinse it gently with cold milk from our cooler, and helped reinsert it while I called our dentist. We were in the dental office within 20 minutes.”
Three years later, Jake’s tooth remains healthy and functional. “The dentist told us that the immediate action made all the difference,” Sarah shared. “Now we make sure everyone on the team knows the steps to take, just in case it happens to another child.”
When to Go to the Emergency Room Instead of a Dentist
While a dentist is ideal for tooth injuries, go to the emergency room if:
- The person has lost consciousness or has a suspected concussion
- There are other serious injuries beyond dental trauma
- There is severe facial or oral bleeding that won’t stop
- You suspect a broken jaw or facial fractures
- No dentist is available within a reasonable timeframe
The emergency room can provide initial care and pain management until dental treatment is available.
Conclusion: Knowledge Saves Teeth
A knocked-out tooth is a true dental emergency where minutes matter. By knowing the proper steps to take—handling the tooth correctly, attempting reimplantation or proper storage, and seeking immediate professional care—you significantly increase the chances of saving the tooth.
Remember the key points:
- Act quickly—within 30 minutes is ideal
- Handle the tooth by the crown only
- Don’t scrub or use chemicals on the tooth
- Reimplant if possible, or store properly
- Seek emergency dental care immediately
Print this guide or save it to your phone, and consider sharing it with family, friends, coaches, and teachers. The knowledge you’ve gained could one day save a smile.
Have you ever experienced or witnessed a knocked-out tooth emergency? We’d love to hear about your experience in the comments below.