The Parent’s Guide to Flossing Children’s Teeth: Techniques by Age

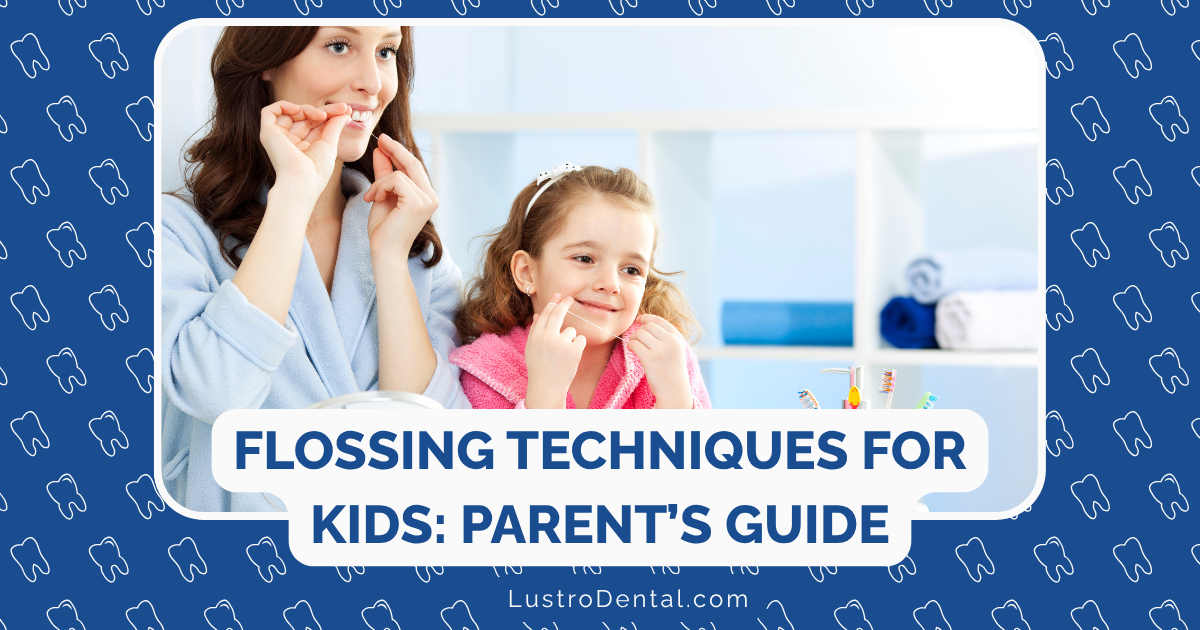
As parents, we’re constantly reminded about the importance of brushing our children’s teeth. But there’s another crucial aspect of oral hygiene that often gets overlooked: flossing. While it might seem like an optional extra, flossing removes up to 40% of plaque that brushing alone can’t reach. Those tight spaces between teeth are prime real estate for cavity-causing bacteria.
But flossing a wiggly toddler’s teeth is very different from teaching a teenager with braces how to floss effectively. Each age brings unique challenges and requires different approaches. This comprehensive guide will walk you through age-appropriate flossing techniques, common challenges, and practical solutions to make flossing a positive part of your child’s daily routine.
When Should Flossing Begin?
The simple answer: Start flossing as soon as your child has two teeth that touch.
For most children, this happens between ages 2-3, typically when the primary molars (back teeth) erupt. Before this age, brushing alone is sufficient since teeth are usually spaced apart.
Dr. Sarah Johnson, pediatric dentist at Children’s Dental Health, explains: “Many parents are surprised to learn that flossing should begin so early. But cavity prevention starts with the very first teeth. Those tight contacts between molars are particularly vulnerable to decay if not flossed regularly.”
Flossing by Age: Techniques and Approaches
Ages 2-3: The Beginning Flossers
Who’s doing the flossing: 100% parent-led
Key challenges:
- Limited attention span
- Difficulty opening wide for extended periods
- May resist having something new in their mouth
Recommended techniques:
- The Knee-to-Knee Position This position gives you excellent visibility and control:
- Sit facing another adult with knees touching
- Lay your child across both laps with their head in your lap
- This gives you a clear view of their mouth while keeping them secure
- If a second adult isn’t available, try laying your child’s head in your lap while seated on the floor or a bed.
- Floss Picks for Beginners For toddlers, child-sized floss picks are often easier than traditional string floss:
- Choose colorful, character-themed picks to increase interest
- The rigid handle provides better control in small mouths
- Focus on the back teeth where tight contacts occur
- Keep It Positive and Brief
- Use simple language: “We’re looking for sugar bugs hiding between teeth!”
- Start with just the back teeth where food commonly gets trapped
- Aim for 30 seconds initially, gradually increasing duration
- Always praise cooperation, no matter how brief
Pro tip: “With toddlers, it’s about establishing the routine rather than perfect technique,” advises Dr. Michael Chen of Bright Smiles Pediatric Dentistry. “Even a quick pass with a floss pick between the molars is better than nothing. Consistency is key.”
Ages 4-7: The Developing Flossers
Who’s doing the flossing: Primarily parent-led, with increasing child participation
Key challenges:
- Developing fine motor skills
- Understanding the importance of unseen cleaning
- Establishing consistent habits
- Losing baby teeth and getting permanent teeth
Recommended techniques:
- The Loop Method (Circle Method) This technique can be easier for parents to manage:
- Take an 18-inch piece of floss and tie the ends together to form a circle
- Place all fingers (except thumbs) inside the loop
- Use index fingers to guide floss between upper teeth
- Use thumbs to guide floss between lower teeth
- The Hand-Over-Hand Teaching Method Start introducing children to the flossing motion:
- Stand behind your child looking into the same mirror
- Place your hands over theirs on the floss
- Guide their movements while explaining what you’re doing
- Gradually give them more control as they develop skill
- Visual Feedback Help children understand why flossing matters:
- Use disclosing tablets occasionally to show plaque between teeth
- Point out food particles that come out during flossing
- Use child-friendly videos about plaque and bacteria
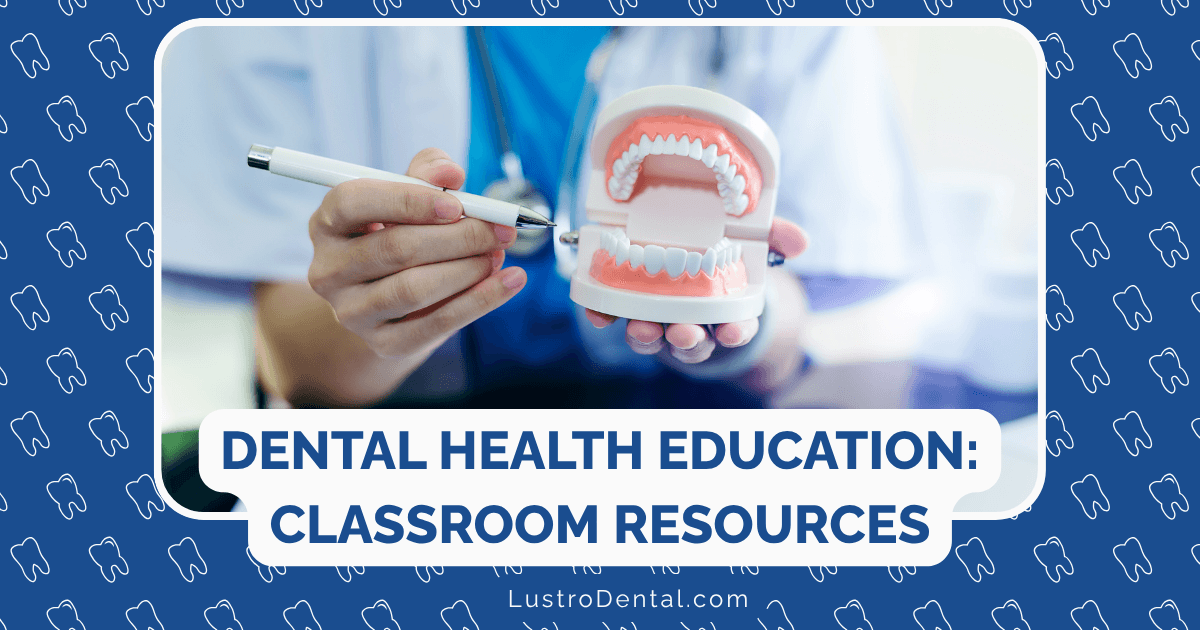
Pro tip: “This age group responds well to visual aids and demonstrations,” notes Dr. Emily Rodriguez, pediatric dental specialist. “Consider using a large dental model to demonstrate flossing technique. Children can practice on the model before trying in their own mouth.”
Ages 8-12: The Independent Flossers
Who’s doing the flossing: Transitioning to child-led with parental supervision
Key challenges:
- Mixed dentition (combination of baby and adult teeth)
- Varying gaps as teeth are lost and grow in
- Possible orthodontic appliances like space maintainers
- Establishing independence while ensuring thoroughness
Recommended techniques:
- Traditional String Floss Introduction This is the age to start teaching conventional flossing:
- Cut approximately 18 inches of floss
- Wind most around middle fingers of both hands
- Leave 1-2 inches between hands to work with
- Use thumbs and index fingers to guide floss
- Demonstrate the “C” shape around each tooth
- Floss Holders and Tools These can bridge the gap between picks and string floss:
- Y-shaped floss holders require less dexterity than string floss
- Allow children to reach back teeth more easily
- Can be particularly helpful during the transition to independence
- Checklist Approach Create a systematic approach to ensure thoroughness:
- Divide mouth into quadrants (upper right, upper left, lower right, lower left)
- Floss one section at a time
- Use a chart to track progress until the habit is established
Pro tip: “For children with orthodontic appliances like space maintainers, floss threaders are essential tools,” explains Dr. James Wilson of Wilson Pediatric Dentistry. “These flexible plastic needles help guide floss under wires and around brackets. Introduce them early if orthodontic treatment is in your child’s future.”
Ages 13-18: The Advanced Flossers
Who’s doing the flossing: Fully child/teen-led with occasional parental reminders
Key challenges:
- Braces and other orthodontic appliances
- Busy schedules and competing priorities
- Potential resistance to parental guidance
- Wisdom teeth eruption in later teens
Recommended techniques:
- Specialized Tools for Braces Orthodontic appliances require additional tools:
- Orthodontic floss with a stiff end for threading under wires
- Interdental brushes for cleaning around brackets
- Water flossers like Waterpik for teens with limited patience
- Floss threaders for traditional floss users
- Technology Integration Leverage teens’ tech-savviness:
- Bluetooth-enabled flossing tools that connect to smartphones
- Oral care apps with reminders and tracking
- Video tutorials for specific orthodontic situations
- Timer apps to ensure thorough flossing
- Independence with Accountability Balance teen autonomy with parental oversight:
- Respect privacy while maintaining expectations
- Schedule regular dental check-ups to verify oral health
- Connect flossing to values teens care about (fresh breath, clear smile for photos)
- Frame flossing as self-care rather than a chore
Pro tip: “Teens are motivated by immediate benefits rather than long-term health consequences,” says adolescent health specialist Dr. Lisa Patel. “Emphasize how flossing improves breath freshness, appearance, and confidence in social situations. These motivators are far more effective than warnings about future gum disease.”
Common Flossing Challenges and Solutions
Challenge: “My child’s gums bleed when flossing.”
Solution: Bleeding gums usually indicate inflammation from plaque buildup—a sign that flossing is actually needed more, not less.
“Consistent flossing typically resolves bleeding within 1-2 weeks as gum health improves,” explains periodontist Dr. Robert Chang. “If bleeding persists beyond two weeks of daily flossing, consult your dentist to rule out other issues.”
Start gently and use waxed floss, which slides more easily between teeth. If bleeding is excessive or painful, see your dentist to rule out other issues.
Challenge: “My child refuses to sit still for flossing.”
Solution: Try these engagement strategies:
- Create a “flossing song” that lasts just long enough to complete the task
- Use a special “flossing only” toy that they can hold during the process
- Implement a reward system with a sticker chart for consistent flossing
- Let them watch a short video while you floss their teeth
- Try flossing in different locations (not just the bathroom) to break the monotony
Challenge: “The floss keeps breaking between my child’s teeth.”
Solution: This usually indicates tight contacts or rough edges:
- Try waxed floss, which is less likely to shred
- Move the floss gently back and forth to work through tight spaces rather than forcing it
- If a particular spot consistently breaks floss, mention it to your dentist as it might indicate a filling with a rough edge
Challenge: “My child with sensory issues can’t tolerate flossing.”
Solution: Sensory sensitivities require special consideration:
- Try different floss types—some children prefer smooth waxed floss while others do better with textured varieties
- Consider a water flosser, which provides effective cleaning with different sensory input
- Use a countdown system so they know exactly how long the process will last
- Implement deep pressure techniques before flossing to help regulate sensory system
- Consult an occupational therapist for specific adaptations based on your child’s needs
Making Flossing Fun: Engagement Strategies by Age
For Toddlers and Preschoolers (Ages 2-5)
- Use puppet play: Have a puppet “check” their teeth after flossing
- Create a “sugar bug hunt” narrative during flossing
- Offer a special “flossing toy” they only get to hold during flossing time
- Use a visual timer with colorful sand or water
- Let them practice flossing the teeth of a large toy or dental model
For Early Elementary Children (Ages 6-9)
- Create a flossing chart with fun stickers or stamps
- Establish a family flossing time where everyone flosses together
- Use disclosing tablets occasionally to show “invisible” plaque
- Implement a reward system for consistent flossing
- Let them choose their floss type, flavor, and color
For Tweens (Ages 10-12)
- Connect flossing to interests (e.g., “athletes floss to stay in top condition”)
- Create challenges or competitions between siblings
- Use technology like flossing apps or timers
- Allow them to choose their own oral care products
- Share interesting dental facts during flossing time
For Teens (Ages 13-18)
- Connect flossing to appearance and social confidence
- Provide high-quality tools that respect their maturity
- Share articles about oral-systemic health connections
- Respect their privacy and autonomy in their routine
- Consider premium oral care products as gifts or rewards
Flossing Tools: Finding What Works for Your Child
The right tools can make all the difference in establishing a successful flossing routine. Here’s a guide to the various options:
Traditional String Floss
Best for: Older children and teens with good dexterity Pros: Inexpensive, effective, allows proper “C” shape around teeth Cons: Requires more skill, can be difficult for children to manage Varieties to consider:
- Waxed floss: Slides more easily between tight contacts
- Flavored floss: Adds enjoyment factor (mint, bubble gum, fruit flavors)
- Ribbon floss: Wider and less likely to cut gums
- Textured floss: Better plaque removal but may be harder to use
Floss Picks
Best for: Toddlers through elementary age, or anyone beginning to learn Pros: Easier to manage, good for reaching back teeth, portable Cons: More plastic waste, harder to form proper “C” shape around teeth Varieties to consider:
- Character-themed picks for young children
- Y-shaped picks for better reach
- Picks with tongue cleaners on the back
- Eco-friendly options made from plant-based materials
Floss Holders
Best for: School-age children developing independence Pros: Reusable, better control than string floss alone Cons: Requires changing floss after use, still needs decent dexterity Varieties to consider:
- Ergonomic handles designed for smaller hands
- Models with floss tensioners for easier use
- Adjustable heads for different angles
Water Flossers
Best for: Teens, especially those with braces; children with sensory issues Pros: Effective for braces, fun to use, good for sensitive gums Cons: More expensive, requires access to sink, potential mess Varieties to consider:
- Countertop models with adjustable pressure settings
- Portable/cordless options for travel
- Kid-specific designs with fun colors and simpler controls
- Combination electric toothbrush/water flosser units
Interdental Brushes
Best for: Teens with braces or wider spaces between teeth Pros: Effective for cleaning around orthodontic appliances Cons: Not suitable for tight contacts, additional expense Varieties to consider:
- Various sizes for different spaces
- Angled designs for hard-to-reach areas
- Disposable vs. reusable options
When to Seek Professional Help
While most children can learn to floss effectively with parental guidance, some situations warrant professional intervention:
- Persistent bleeding despite two weeks of regular flossing
- Extreme resistance or emotional distress during flossing attempts
- Physical limitations that make standard flossing techniques difficult
- Significant overcrowding making floss access challenging
- Children with special healthcare needs requiring adaptations
“Don’t hesitate to ask your pediatric dentist or dental hygienist for a personalized flossing demonstration,” advises Dr. Johnson. “They can provide techniques specific to your child’s unique dental anatomy and developmental stage.”
Conclusion: The Long-Term Impact of Flossing Habits
Establishing good flossing habits in childhood creates a foundation for lifelong oral health. Beyond preventing cavities between teeth, regular flossing reduces the risk of gum disease, which has been linked to serious health conditions including heart disease, diabetes, and respiratory infections.
By tailoring your approach to your child’s age, development, and individual needs, you can transform flossing from a dreaded chore into a natural part of their daily routine. Remember that consistency matters more than perfection, especially in the beginning. Celebrate small victories, be patient with setbacks, and keep the experience positive.
Your investment in teaching proper flossing techniques today will pay dividends in your child’s healthy smile for decades to come.
What flossing techniques have worked best for your children? Share your experiences and tips in the comments below!


